The quest for looking absolutely stunning on the most special day of a bride’s life is an undeniable desire. The selection of the right makeup style plays a pivotal role in achieving that coveted bridal glow. Be it a subtle and natural appearance or a bold and glamorous look, there exists a plethora of wedding makeup trends that cater to the individuality of both brides and bridesmaids. In this comprehensive article, we will delve into the realm of the top wedding makeup trends, exploring ideas and inspiration to enhance the inherent beauty of brides and bridesmaids while empowering them to express their own unique style on this monumental occasion. You can also check our blog on work life balance for married couple and get more helpful knowledge on life after marriage.
The Rise of the ‘No Makeup’ Wedding Makeup Trend

Enhancing Natural Beauty:
A shift towards a more authentic approach to wedding makeup that aims to accentuate and celebrate natural beauty instead of camouflaging it beneath layers of heavy products.
Steps to Achieve the Look:
Begin by applying a lightweight foundation or a tinted moisturizer, meticulously fill in and shape the eyebrows, opt for a soft brown eyeshadow, and conclude the look with a subtle lip color that exudes a romantic charm.
Unveiling the Wedding Makeup Trends – Neon Hues

Bold and Edgy:
Embracing vibrant and striking shades of neon eyeshadow and eyeliner to make a bold and impactful statement. These types of shades are generally worn to show gender equality and add creative boldness in the look.
Wearability Factors:
Combine neon hues with neutral shades to strike a balance or strategically use them as accent colors rather than applying them uniformly across the entire eyelid.
The Art of Blush Draping in Wedding Makeup Trends

Adding a Rosy Flush:
Employing all-in-one skin tints to create a delightful burst of color on the cheeks, radiating an aura of vitality.
Mastering the Look:
Apply the skin tint delicately on the highest points of the cheekbones, seamlessly blending it into the skin, and follow up with varying degrees of intensity while applying blush.
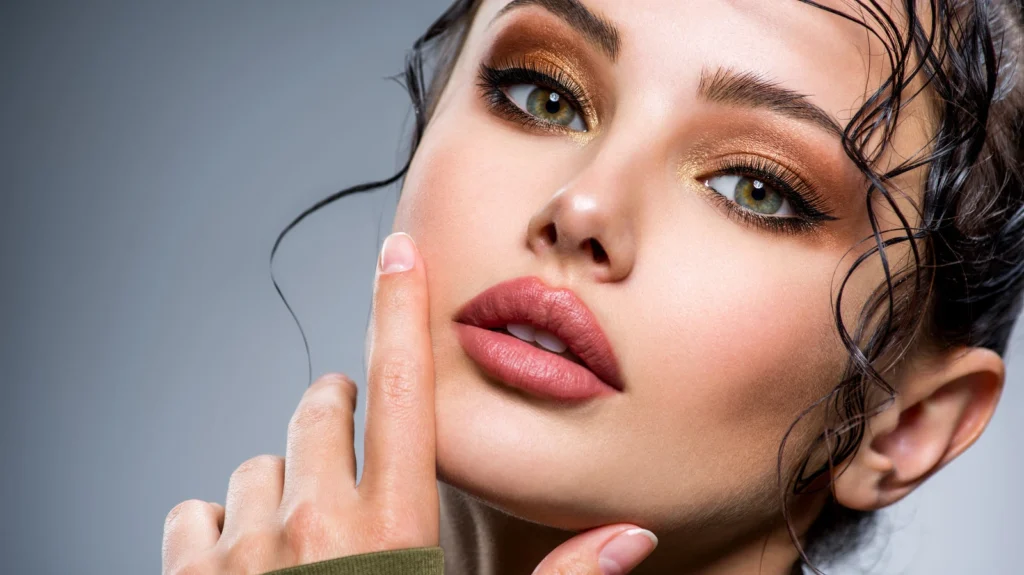
The Charm of Brownie Lips
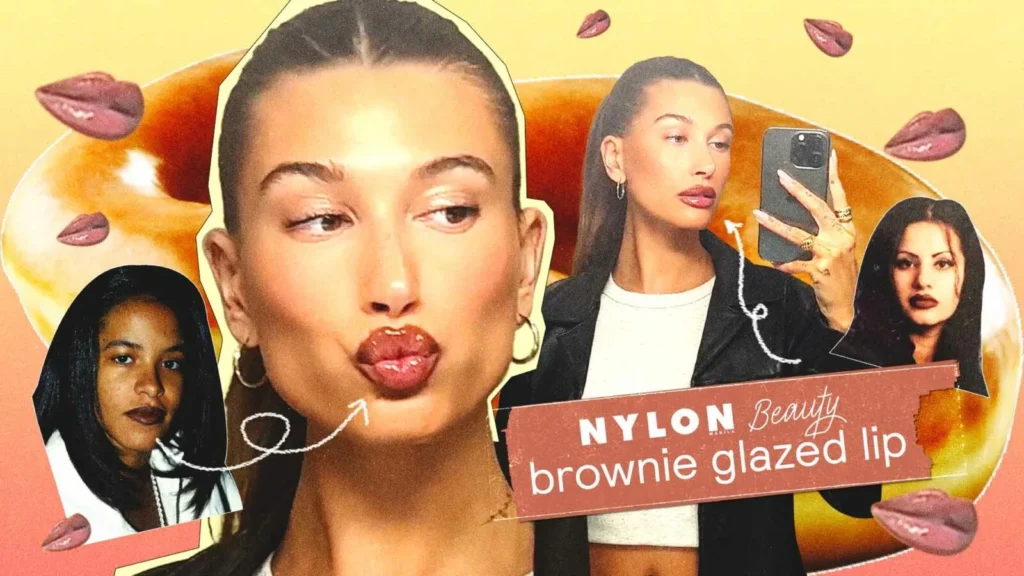
Natural and Subtle:
Embrace the soft and subtle allure of brown lip colors, creating an understated and sophisticated appearance.
Bringing the Look to Life:
Select a brown lip color that harmonizes with the individual’s skin tone and add a touch of gloss to impart a healthy and luscious effect.
Here are some general tips to help you achieve the desired wedding Makeup :
- Exfoliate: Before applying any lip product, make sure to exfoliate your lips to remove any dry or flaky skin. You can use a gentle lip scrub or simply use a soft toothbrush to gently brush your lips.
- Moisturize: Apply a lip balm or moisturizer to hydrate your lips and create a smooth canvas for the brownie lip color.
- Lip liner: Start by outlining your lips with a lip liner that matches the brown shade you want to achieve. This will help define your lip shape and prevent the lipstick from bleeding.
- Lipstick application: Using a lip brush or directly from the bullet, apply the brown lipstick to your lips, starting from the center and moving outward. Take your time and be precise to ensure an even application.
- Blot and layer: After the initial application, blot your lips gently with a tissue to remove any excess product. This will help set the color and prevent it from smudging. You can then apply another layer of lipstick for added intensity if desired.
- Clean up: Use a small concealer brush or a cotton swab dipped in concealer to clean up any edges and perfect the shape of your lips. This step will help achieve a more polished look.
- Finishing touch: To add dimension and shine, you can optionally apply a lip gloss or a shimmery lip topper in a complementary brown shade on the center of your lips.
Indulge in Face Embellishments
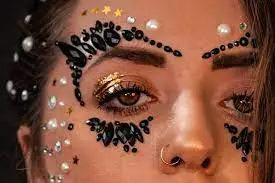
Glamour and Drama:
Elevating the overall bridal look through the addition of rhinestones, pearls, or face glitter, infusing an aura of opulence and mystique.
Techniques of Application:
Strategically adorn eyes, lips, or cheekbones with rhinestones or pearls, or incorporate shimmer products to achieve an ethereal and radiant glow.
Here are some tips to help you to reach Wedding Makeup:
- Start with a clean canvas: Before applying any face embellishments, make sure your face is clean and moisturized. This will help the embellishments adhere properly and last longer.
- Choose the right products: Select face embellishments that suit the look you want to achieve. Options include gems, sequins, glitter, rhinestones, feathers, and metallic accents. Make sure the products you choose are safe for use on the face.
- Prepare your skin: Apply a thin layer of primer or adhesive specifically designed for face embellishments. This will help the embellishments stick securely to your skin.
- Placement and design: Plan out the design you want to create before applying the embellishments. Consider your facial features and decide where you want to place them. Popular areas include the cheekbones, temples, brow bone, and around the eyes.
- Adhesive Application: Apply a small amount of adhesive to the back of each embellishment using a clean, fine-tipped brush or a toothpick. Be careful not to use too much adhesive, as it can make the embellishment slide off or become messy.
- Secure placement: Gently press the embellishment onto your skin in the desired location. Hold it in place for a few seconds to ensure it sticks properly. For larger or heavier embellishments, you may need to use additional adhesive or a special adhesive designed for heavier materials.
- Blend and balance: If you’re using multiple embellishments, ensure they blend well together and create a balanced look. Use embellishments of different sizes, shapes, and colors to add dimension and visual interest.
- Finishing touches: Once all the embellishments are in place, check for any loose or uneven edges. Use a clean brush or a cotton swab to gently fix any issues and ensure a smooth finish.
- Seal the embellishments (optional): To make the embellishments last longer, you can apply a thin layer of a clear, non-toxic sealant over them. This will help protect them from rubbing off or getting displaced.
- Removal: When you’re ready to remove the embellishments, use a gentle cleanser or makeup remover to dissolve the adhesive. Be careful not to pull or tug on the embellishments, as it can irritate the skin.
The Timeless Allure of Smokey Eyes
Classic and Sultry:
Establishing an atmosphere of allure and intrigue around the eyes through the skillful application of dark, matte eyeshadow.
Here are some tips for achieving classic and sultry eyes:
Classic Eyes:
- Start with a neutral eyeshadow base: Apply a matte neutral shade all over your eyelids to create a clean canvas for your eye makeup.
- Define your crease: Use a slightly darker matte shade to add definition to your crease. Blend it well for a soft and seamless transition.
- Highlight the brow bone: Apply a light shimmery shade or a matte highlighter beneath your eyebrows to lift and brighten the eyes.
- Line your upper lash line: Use a black or brown eyeliner to draw a thin line along your upper lash line. Keep it close to the lashes for a natural look or make it slightly thicker for more definition.
- Curl your lashes: Use an eyelash curler to give your lashes a lift and open up your eyes.
- Apply mascara: Finish off your classic look by applying a coat or two of mascara to your upper lashes. Wiggle the wand from the roots to the tips for maximum volume.
Sultry Eyes:
- Opt for smoky eyeshadow: Choose shades like charcoal, deep plum, or navy blue for a sultry effect. Apply a darker shade on the outer corner of your eyelid and blend it towards the center.
- Add depth with a darker crease shade: Use a deep matte shade to create depth in the crease and outer corner of your eyes. Blend it well to avoid any harsh lines.
- Smudge your eyeliner: Instead of a precise line, smudge a black or dark brown eyeliner along your upper and lower lash lines. This will create a sultry, smoky effect.
- Apply false lashes: For added drama, consider applying false eyelashes. Choose lashes with a fuller, wispy design for a sultry look.
- Define the lower lash line: Use a smudger brush and a dark eyeshadow shade to softly line your lower lash line. This will enhance the sultriness of your eyes.
- Finish with mascara: Apply mascara to your upper and lower lashes to blend the false lashes with your natural lashes and to add extra volume and length.
Infusing a Modern Twist:
Opt for shades of grey and silver to inject a contemporary flair into the conventional smokey eye, exuding an air of sophistication.
Enter the Era of Wet Look Makeup
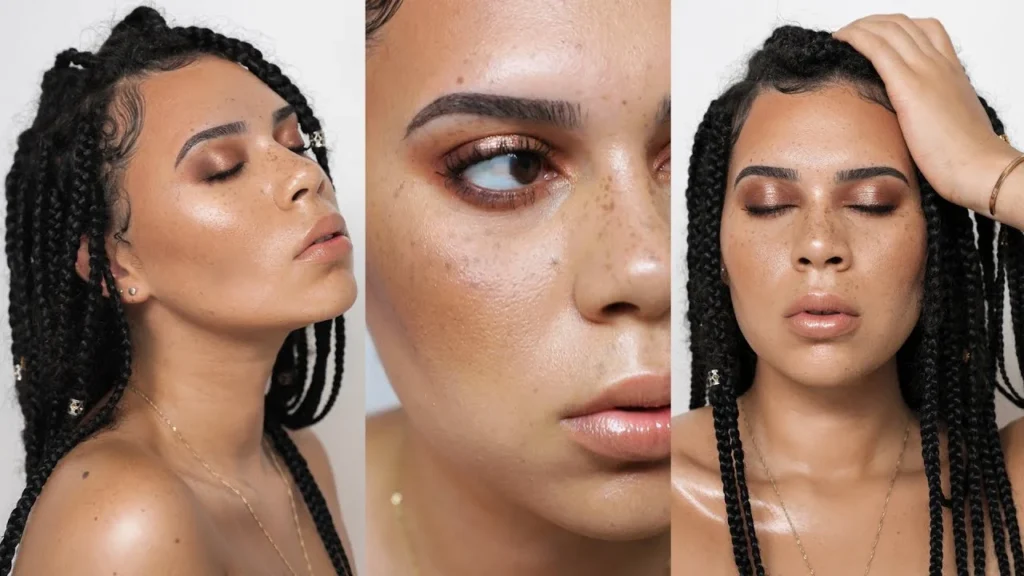
Perfect for Summer Weddings:
Conveying a healthy, radiant, and utterly fabulous appearance as if one has just emerged from a refreshing dip in a pool.
Achieving the Look:
Utilize a moisturizer infused with enriching ingredients, employ a liquid or cream foundation to attain a dewy finish, and adorn the lips with a lustrous lip gloss.
Here are some tips for applying wet-look makeup:
- Prep your skin: Start by cleansing and moisturizing your face to create a smooth canvas for the makeup application. Make sure your skin is well-hydrated to achieve the dewy effect.
- Primer: Apply a hydrating or illuminating primer to further enhance the glowy effect of the wet look. This will also help the makeup last longer.
- Foundation: Choose a foundation with a dewy or luminous finish. Apply it evenly to your face using a damp makeup sponge or a foundation brush. Avoid using a matte foundation as it will counteract the wet look effect.
- Highlighter: Apply a liquid or cream highlighter on the high points of your face, such as the cheekbones, brow bone, and down the bridge of your nose. This will enhance the glowy effect and create a radiant appearance.
- Cream blush: Opt for a cream blush instead of a powder blush to maintain the dewy finish. Apply it on the apples of your cheeks and blend it well for a natural flush of color.
- Eye makeup: Keep the eye makeup simple and fresh. Apply a shimmery eyeshadow or a glossy lid to add some sheen to your eyes. Avoid heavy eyeliner and opt for a few coats of mascara to define your lashes.
- Lip gloss: Choose a high-shine lip gloss or a liquid lipstick with a glossy finish. Apply it to your lips for a wet, luscious look.
- Setting spray: To ensure your wet look makeup lasts all day, finish off with a setting spray. Look for a hydrating setting spray that will lock in the moisture and give your skin a dewy glow.
Remember, less is more when it comes to achieving the wet look. Focus on creating a natural, luminous effect rather than a heavy, overly glossy appearance. Experiment with different products and techniques to find what works best for you.
Embrace the Brushed-Up Fluffy Brows
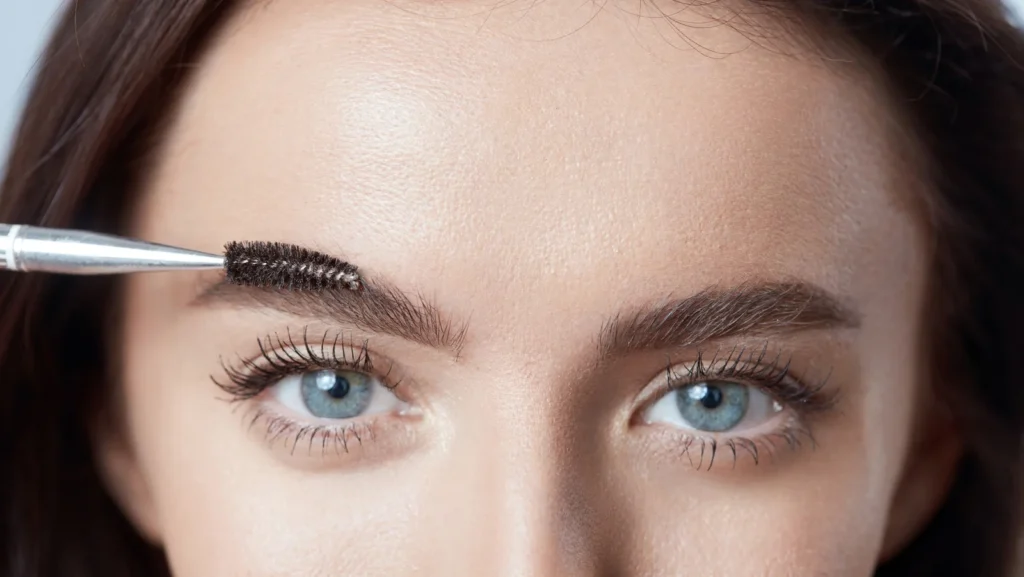
A Flourishing Brow Trend:
Emphasizing full and voluminous brows that effortlessly draw attention to the eyes and delicately frame the face.
Mastering the Technique:
Gently brush the brow hairs upwards to smooth and align them, and employ a transparent gel to achieve an amplified effect, resulting in luxuriously fluffy brows.
To achieve brushed-up fluffy brows, here are some techniques and tips you can follow:
- Start with clean, groomed brows: Ensure your brows are well-groomed and trimmed to your desired shape before you begin. Pluck any stray hairs and brush them into place.
- Use a spoolie brush: A spoolie brush is an essential tool for creating fluffy brows. Use it to brush your brow hairs upward in the direction of hair growth. This will help create the desired brushed-up effect.
- Fill in any sparse areas: If you have any sparse areas in your brows, use a brow pencil or powder to fill them in. Apply the product with light, feathery strokes to mimic the natural appearance of brow hairs.
- Apply a clear or tinted brow gel: To set your brows in place and enhance the brushed-up look, apply a clear or tinted brow gel. Choose a shade that matches your natural brow color or opt for a slightly darker shade for added definition. Comb the gel through your brows in an upward motion to help them stay lifted and fluffy.
- Trim long brow hairs: If you have excessively long brow hairs that don’t cooperate with the brushed-up look, you can carefully trim them using a small pair of scissors. Trim only the longest hairs to maintain a natural appearance.
- Avoid over-application: When filling in your brows or applying brow gel, avoid using too much product. Start with a light hand and build up the intensity gradually. Over-application can make your brows look heavy and unnatural.
- Set with a brow wax: For extra hold and longevity, you can apply a thin layer of brow wax after applying your brow gel. This will help keep your brushed-up brows in place throughout the day.
- Regular maintenance: Maintain the shape and fluffiness of your brows by brushing them up daily using a spoolie brush. This will help train the hairs to stay in the desired position and make it easier to style them in the future.
Conclusion
The selection of the perfect wedding makeup style necessitates careful consideration of personal preferences, the overarching theme of the wedding, and the desired level of glamour. From a natural and radiant visage to a bold and dazzling transformation, the top wedding makeup trends offer a myriad of possibilities for brides and bridesmaids to shine brightly on their momentous day. It is important to savor the process and delight in the exploration of various styles, ultimately uncovering the makeup look that magnifies natural beauty and reflects the unparalleled essence of individual style. With this we come to an end of this blog, we hope you have liked this blog you can also check our blog on impact of changing gender roles in modern marriages to understand how marriage is evolving in modern times.
FAQ
What are some popular wedding makeup trends for brides and bridesmaids?
Answer: There are several popular wedding makeup trends to consider. Some of them include the “No Makeup” look, Wet Look Makeup, Brushed-Up Fluffy Brows, Neon Hues, Blush Draping, Brownie Lips, Face Embellishments, and Smokey Eyes.
How can I achieve a natural-looking bridal makeup?
Answer: To achieve a natural-looking bridal makeup, start with a light foundation or tinted moisturizer, enhance your eyebrows with a soft brown eyeshadow, and finish with a subtle lip color. The goal is to enhance your natural beauty without heavy products that mask your features.
What is the Wet Look Makeup trend, and when is it suitable?
Answer: The Wet Look Makeup trend aims to create a healthy, radiant, and fresh appearance, as if you’ve just stepped out of a pool. It is particularly suitable for summer weddings when a dewy and glowing complexion is desired. To achieve this look, use moisturizer with nourishing ingredients, opt for a liquid or cream foundation for a dewy finish, and add glossy lip gloss.
How can I achieve the brushed-up fluffy brows that are trending?
Answer: Achieving brushed-up fluffy brows involves brushing your brow hairs upwards to lay them flat, creating a fuller appearance. To enhance the effect, use a clear brow gel to add volume and achieve that fluffy brow look, which draws attention to your eyes and frames your face beautifully.
Can I incorporate bold and vibrant colors into my wedding makeup without going overboard?
Answer: Absolutely! If you want to incorporate bold and vibrant colors like neon eyeshadow and liner, it’s important to strike a balance. You can pair these bright shades with neutral tones or use them as accent colors to make a statement without overwhelming your overall makeup look. The key is to find a harmony between boldness and wearability.